Monday, January 31, 2011

Parsnips and My Wish List

Last year I attempted to do a different dumpling each month. Well, I did a few and I failed. I also was going to blog from Greece, but technology and I just don’t get along. I did a few Greek recipes and will do others, I promise. In order to fail, one has to try, so I am going to try again. What can I say, my head is somewhat hard.

It’s a new year and time for a new beginning. This time I am going to do dishes that I have always wanted to do, but just could never find a good excuse to make them. After all, what’s a blog good for? I made what I’m calling my wish list. When I first showed the list to my student her reply was, why Dr. Jones do you realize that you only have baking stuff on your wish list? Where are the vegetables? Out of the mouths of babes. I defended my list by stating that macaroni was made from wheat and that was a plant, therefore, mac ‘n cheese should count as a vegetable. At this point, she just rolled her eyes and sighed. I relented and added vegetables to the list. I am particularly interested in Asian vegetables since I know very little about them. As the year progresses, if I find some really unusual vegetable at my local farmers market, I’ll see what I can do with it.

If you want to add to my list, please do so. If there is something about food that you are dying to find out, let me know if you think we can help out. We love to experiment with food. A friend of mine has already added red rice to the list. Red rice is a dish commonly found in low country cooking. To see what I will be making this year, click on the Wish List at the top of this page.

To get this Wish List moving along I am starting with parsnips. I have recently rediscovered parsnips. Maybe it was the butter and brown sugar, but they were quite tasty. While Europeans are quite taken with the parsnip, Americans tend to overlook this vegetable. Parsnips have a relatively high starch content and can stand in for potatoes. They combine well with carrots, potatoes and other winter root vegetables. Parsnips can be used in soups, roasted, sautéed, and mashed.

A ½ cup serving of parsnips contain only 55 calories, 2.8 g of dietary fiber, 286 mg of potassium and 45 mcg of folate.

Parsnips are a root vegetable and a member of the umbelliferae family which also includes carrots, celery, fennel and parsley. In fact, parsnips look like white carrots. To make my parsnips, I am going to stick with something simple. When cooking vegetables on a weeknight, ‘quick and easy’ suit my needs. I am making my parsnips using a steam/sauté method. You first add liquid, seasoning and fat to a small amount of water. Cook the vegetables with the lid on until they begin to soften. Remove the lid and allow the liquid to evaporate. What you end up with is vegetables that are glazed and ready to eat.

Weeknight Parsnips

Serves 4.

Ingredients:
About 4 to 5 parsnips
¼ cup water
2 Tablespoons butter
1 Tablespoon brown sugar
Salt and pepper, to taste

Directions:
1. Peel and cut parsnips into desired shape.

2. Heat water, butter, brown sugar, salt and pepper in a medium saucepan. Add parsnips and stir. Cover and cook for about 5 minutes. Remove lid and continue cooking until water has evaporated and parsnips are glazed.

Note: Any root vegetable can be prepared in a similar manner. Try this recipe with carrots, turnips or rutabagas. Enjoy!


Wednesday, January 26, 2011

Happy Chinese New Year! (新年快乐!)

Chinese New Year is full of symbolism and superstition; it is believed that appearance and attitude during New Year’s will set the tone for the rest of the year.  People do not sweep or dust their homes in fear they will sweep away good fortune.  Red clothing is worn to bring the wearer a bright future and children receive “hong bao” which are red envelopes with crisp, new dollar bills inside for good luck.  Certain foods are also eaten because their Chinese names are homophones for words like wealth or luck.  For example, the word for tangerines sounds like the word for “luck” in Chinese, so friends and families give them as gifts.  Also, nian gao (which means sticky rice cake), is eaten on New Year’s because it sounds like the phrase “year growing taller” supposedly giving the eater a better year than the last.  Many families realize these superstitions are merely that, but they continue to practice the traditions to so they can pass down Chinese heritage to their children.

One treasured tradition is dumpling making which is also a very symbolic food.  Dumplings are called “jiao zi” which was the old term for ancient Chinese money because the gold and silver pieces had a dumpling-like shape.  Essentially dumplings are symbolic for eating money and it is believed the person will have prosperity, luck, wealth (and hopefully a full stomach too).

To me, one of the most important aspects of Chinese New Year is the food.  Where there is food and families, bonds are strengthened and memories are created.  Many Chinese families treasure dumpling making on New Year’s because of these statures.  Usually one family member will roll the dough, and the rest will fill and pleat the dumplings; they will all talk and enjoy valuable family togetherness.  I find particularly special that each person has a certain dumpling “thumbprint”; in other words, at the dinner table one can usually tell who has made which dumpling as they are eating.

Chances are you may not celebrate Chinese New Year, but I encourage you to make these dumplings with your family or even try making nian gao (the recipe can be found on my blog www.swirledandsprinkled.wordpress.com).  Until then, I wish you all the happiest New Year, one with much luck, fortune, good health, and prosperity…may this year be brighter than your last.  新年快乐!(Happy New Year!)

Pork and Chive Dumplings (makes about 12)


Ingredients:


Dough:
1 cup all-purpose flour
1/2 cup boiling water
1/4 teaspoon salt

1. In a medium bowl, combine flour, salt, and boiling water.  Using a wooden spoon, mix until dough forms a rough ball, then transfer to a lightly floured surface and knead until smooth and shiny (about 8 minutes).  Wrap lightly in plastic wrap and let rest at room temperature for 20 minutes.

Filling:
1/2 1b. ground pork
1/2 tablespoon Shaoxing wine*
1/4 teaspoons sesame oil
1/2 teaspoon chili-garlic sauce (Lee Kum Kee)*
2 teaspoons finely minced ginger
1/2 teaspoon rice vinegar*
2 teaspoons soy sauce*
pinch of white pepper powder*
3 tablespoons finely chopped cilantro stems
3 tablespoons chopped scallions
*See bottom of post for a picture of these ingredients.

1. In a medium bowl, combine all ingredients and mix until just combined.  Refrigerate until ready to use.

Roll out wrappers:


1. Divide dough into two pieces.  On a lightly floured surface roll each piece of dough into a 1-inch diameter log.  Cut each log into 1-inch long sections.

2. Pinch a dough section into a circle, then roll out on floured surface using a floured rolling pin into 4-inch diameter round circles.  Set rounds aside.

Fill and pleat dumplings:


1. Lightly flour a baking sheet.  Hold one wrapper in the palm of your hand.  Place one heaping tablespoon filling in center of wrapper, then fold wrapper in half without sealing the edges, open side up.  Between your thumb and forefinger, gently push down fillings with other hand to keep edge of wrapper free.

2.  Using thumb and forefinger of left hand, begin pinching edges of wrapper together while pushing one edge into tiny pleats with thumb of right hand.  Continue pleating and pinching across entire semicircle until wrapper is sealed (the other unpleated side will naturally curve).  Set dumpling on floured baking sheet and repeat.

Pan-fry dumplings:


1. In a large lidded non-stick saute pan over moderately high heat, heat 1 1/2 tablespoons vegetable oil until hot.  Add dumplings, pleated sides up (don't let them touch).  Then immediately pour cold water into the pan to come halfway up the sides of the dumplings.  Cover and cook until the liquid has evaporated and the bottoms of the dumplings are brown and crispy.  Transfer dumplings to a plate, browned sides up.

Lucky Dumpling Sauce (serves 4)


4 tablespoons soy sauce
1 tablespoon rice vinegar
1 teaspoon chili-garlic sauce
1/2 teaspoon Shaoxing wine (optional)

1. Mix all ingredients together and serve with dumplings.

Enjoy!


Tuesday, January 18, 2011

Cheese – Back to My Assignment


Before the Christmas holidays I gave the students in my foods class an assignment to find cheeses they were not familiar with. They had to go to small and unusual grocery stores. Mind you, these are not stores that most students would shop at. They had to find an American natural cheese such as Cheddar, none of that processed stuff, a non-American blue-veined cheese, one made with goat or sheep’s milk, a cheese made in Nebraska, and one from another country.

The purpose of this assignment was to get my students out of their comfort zone. I believe that if all you ever do is what you have always done, you are not accomplishing much. So I decided to take the assignment along with my students. ‘Cause occasionally, professors need to ‘stretch out’ too.

For the first one, I made an apple pie with a Cheddar cheese crust. It did not turn out too nicely. I always tell my students that sometimes you make something that you just can’t eat. Not to be deterred and since I have to keep face with my students, I trudge onward.

For the second assignment, I decided to make mac ‘n cheese. I chose a Nebraska cheese, Velky made by Jisa’s Premium Farmstead Cheese Company (http://www.jisacheese.com/). From what they tell me, it is an Eastern European type cheese. It has a very mild flavor and a soft texture. When I first tasted it, I thought mac ‘n cheese. Afterall, one can’t have too much mac ‘n cheese.

I found a recipe from The Splendid Table website for 21st Century Mac and Cheese (http://splendidtable.publicradio.org/). It is a part of their cheap eats series. I did modify the recipe somewhat. I removed the garlic and onion. Sorry, but I do not believe garlic and onion belong in mac ‘n cheese. Bacon, now that’s another matter. But no garlic or onion. I liked that I did not have to make a cheese sauce for this recipe.

21st Century Mac and Cheese

Ingredients:
8 ounces (2 cups) penne pasta
1 large egg
1 cup milk
8 ounces soft cheese, such as Velky
5 ounces cream cheese, room temperature
Generous 1/8 teaspoon each, red pepper flakes, salt, and black pepper
Generous ¼ teaspoon paprika
3 Tablespoons butter
16 saltines, coarsely crumbled

Directions:
1. Bring a large pot of water to a boil. Add salt. Add pasta and turn heat off. Allow to sit for 10 minutes.

2. Preheat oven to 350F. Butter a shallow 1 ½ quart baking dish. Set aside.

3. In a blender or food processor combine cream cheese, egg and milk. Process for a few seconds. Scrape down sides of container, if necessary. Add cheese, peppers, salt and paprika. Blend for a few seconds.

4. Drain pasta and place into a large bowl. Add cheese mixture and stir to combine. Pour into baking dish.

5. Melt butter in a small saucepan. Coat crackers with butter and spread over top of casserole. Bake about 20 to 25 minutes, or until thick and creamy. If top is not golden, slip under broiler for a minute. Remove from oven, let stand about 5 minutes, and serve.


Note: If desired, casserole can be assembled, covered with plastic wrap and refrigerated for up to 24 hours.

I must say the mac ‘n cheese turned out quite nicely. My colleague and I enjoyed it and readily consumed our fair share. I normally don’t add paprika and red pepper flakes to mac ‘n cheese, but the addition of both gave the dish a little ‘kick’. I would be willing to make it again. I might even consider trying some different cheeses.


If you have a favorite mac ‘n cheese recipe, let us know. We love you hear about your favorite dishes.

Tuesday, January 11, 2011

Sweet Potatoes – The ‘In’ Vegetable for 2011

I like to keep up with food trends. I am not sure I believe them, but it is fun to follow them. One of the hottest ‘new’ foods for 2011 is the sweet potato. (http://www.epicurious.com/articlesguides/blogs/editor/2010/12/food-trend-predictions-for-2011.html?intcid=epi_hptile4) Can you believe that – sweet potatoes? When I read that, my first thought was to applaud some trend watcher. My second thought was what took you so long? You see, the sweet potato has been a staple of the southern diet for eons.

So why sweet potatoes. First of all they are a nutritional powerhouse. They are high in fiber, beta carotene, and vitamin C and low in calories. They are showing up on more restaurant menus and not just as fries. Google searches for the vegetable have increased by 40% from last year. Now granted we don’t always prepare sweet potatoes in the most nutritionally sound ways. We have topped them with marshmallows – poor sweet potatoes, drowned them in butter and sugar, aka, candied yams and now we even fry them. Sweet potatoes are good on their own and don’t need much adornment to shine.

The sweet potato and white potato are only distantly related. The sweet potato is actually a member of the morning glory family. Although the leaves are edible, sweet potatoes are grown primarily for their roots. While there are hundreds of varieties of sweet potatoes, there was a time when Americans purchased two basic types, the yellow and deep orange kind. Now there are several varieties readily available to the US consumer. In addition to yellow and orange one can purchase white and purple sweet potatoes. White sweet potatoes contain more starch than the orange varieties and tend to cook up mealy. Orange varieties have a higher sugar content, are more watery and are easily caramelized. Purple sweet potatoes are sometimes referred to as Okinawan potatoes and are native to the Japanese island, Okinawa.

Roasted sweet potatoes is an excellent recipe for mixing different varieties of sweet potatoes. I like this recipe because it is easy – put it in the oven and walk away. But most of all, it showcases sweet potatoes. It allows the beauty of sweet potatoes to shine.

Roasted Sweet Potatoes

Serves 6.
 Ingredients:
3 pounds sweet potatoes, about 4 medium
2 Tablespoons vegetable oil
½ teaspoon salt
¼ teaspoon black pepper

Directions:
1. Wash and peel potatoes. Cut into cubes or French fry shape. Toss with oil, salt and black pepper.

2. Line a rimmed baking sheet with foil. Spray foil lightly with cooking spray. Add potatoes in a single layer.

3. Cover tightly with foil. Turn oven to 425°F and cook for 30 minutes.

4. Remove foil and continue to roast for 15 to 25 minutes or until potatoes are tender.

Thursday, December 30, 2010

Black-eyed Peas - Good Luck for the New Year!

It seems that every culture has some food that brings good luck for the New Year. In the African American tradition black-eyed peas bring good luck. I cannot swear by this, but a tradition is a tradition and do you really want to tempt fate?

Some African Americans eat black-eyed peas and rice or Hoppin’ John on New Year s Day. In my family black-eyed peas and cornbread was the way to go. Either way, both dishes are excellent sources of protein. In addition to being an excellent source of protein, black-eyed peas are high in iron, potassium, magnesium, B vitamins and complex carbohydrates, which help control blood sugar and lower cholesterol.

Although Southerners cook a wide variety of peas, it seems that Black-eyed peas reign supreme. It seems that everyone I talk to, whether Southerner or not, know about black-eyed peas. It is believed that black-eyed peas were brought to America by slaves. They were planted in the borders of fields by slaves, thus the name, field pea.

Cooking Black-eyed Peas
If you would like to prepare black-eyed peas by starting with the dried kind, here are a few tips to get you started.

1. Pick through the peas. Discard any rocks or other debris, discolored or broken peas.

2. Although not entirely necessary, beans and peas are generally soaked before cooking. It shortens the cooking time. For every cup of beans, use 3 cups of water for soaking.

3. Place peas in water, cover and refrigerate for about 8 hours or overnight. Drain the peas and cook as desired.

 4. One pound of beans or peas is about 2 cups. One pound of dry beans will yield about 5 to 6 cups of cooked peas.

Here are a couple of recipes for you to try your luck with. If you don’t get around to these on New Year’s Day, you’ve got 364 more chances. Good luck and best wishes for a prosperous new year.

Marinated Black-eyed Peas

Serves 8.

Ingredients:
2 cans (15 ounces each) black-eyed peas, drained and rinsed
¾ cup chopped bell peppers, your choice of colors
1 garlic clove
1 small onion, minced
3 Tablespoons red wine vinegar
¼ cup extra virgin olive oil
1 teaspoon dried thyme
2 to 3 medium tomatoes

Directions:

1. In a medium bowl, combine black-eyed peas, bell peppers, garlic, and onion.

2. In a small bowl combine vinegar, olive oil, and thyme. Add to vegetable mixture. Cover and refrigerate for at least 8 hours.

3. To serve, place tomatoes on individual plates. Spoon black-eyed peas onto tomatoes.

Hip Hoppin’ John

Serves 6 side dishes or 4 main dishes.

Ingredients:
1 cup dried black eyed peas
1 bay leaf
1 teaspoon dried thyme
1 teaspoon salt, optional
½ teaspoon black pepper
1 Tablespoon vegetable oil
1 medium yellow onion, chopped
1 garlic clove, minced
½ teaspoon crushed hot pepper flakes
1 small red or green bell pepper, chopped
1 cup long grained or converted white or brown rice

Directions:
1. Pick through peas, discarding broken or discolored peas and any debris, such as rocks. Rinse and drain peas. Place in a large bowl and cover with 4 cups of water. Soak overnight. Drain peas and discard water.

2. In a Dutch oven, cover peas with 5 cups of water. Add bay leaf, thyme, salt (if using) and black pepper. Bring to a boil; reduce heat to low. Simmer until tender, about 40 minutes.

3. In a large skillet, heat vegetable oil. Add onion and garlic; cook until translucent, about 5 minutes. Add onion, garlic, crushed pepper and bell pepper to peas. Stir to mix well. Cook until vegetables are tender.

Cooking the Rice.
Some people cook the rice with the peas and others cook it separately. If you plan to cook the rice separately, reduce the amount of water in the peas by about 2 cups.

Source: Low-fat Soul by Jonell Nash

Monday, December 20, 2010

Gifts from the Heart

For the past 12 days we have focused on good Christmas cookies that just happened to be healthy. We hope that you enjoyed them. We had a lot of fun making them. After all, they were cookies and cookies are supposed to be fun.

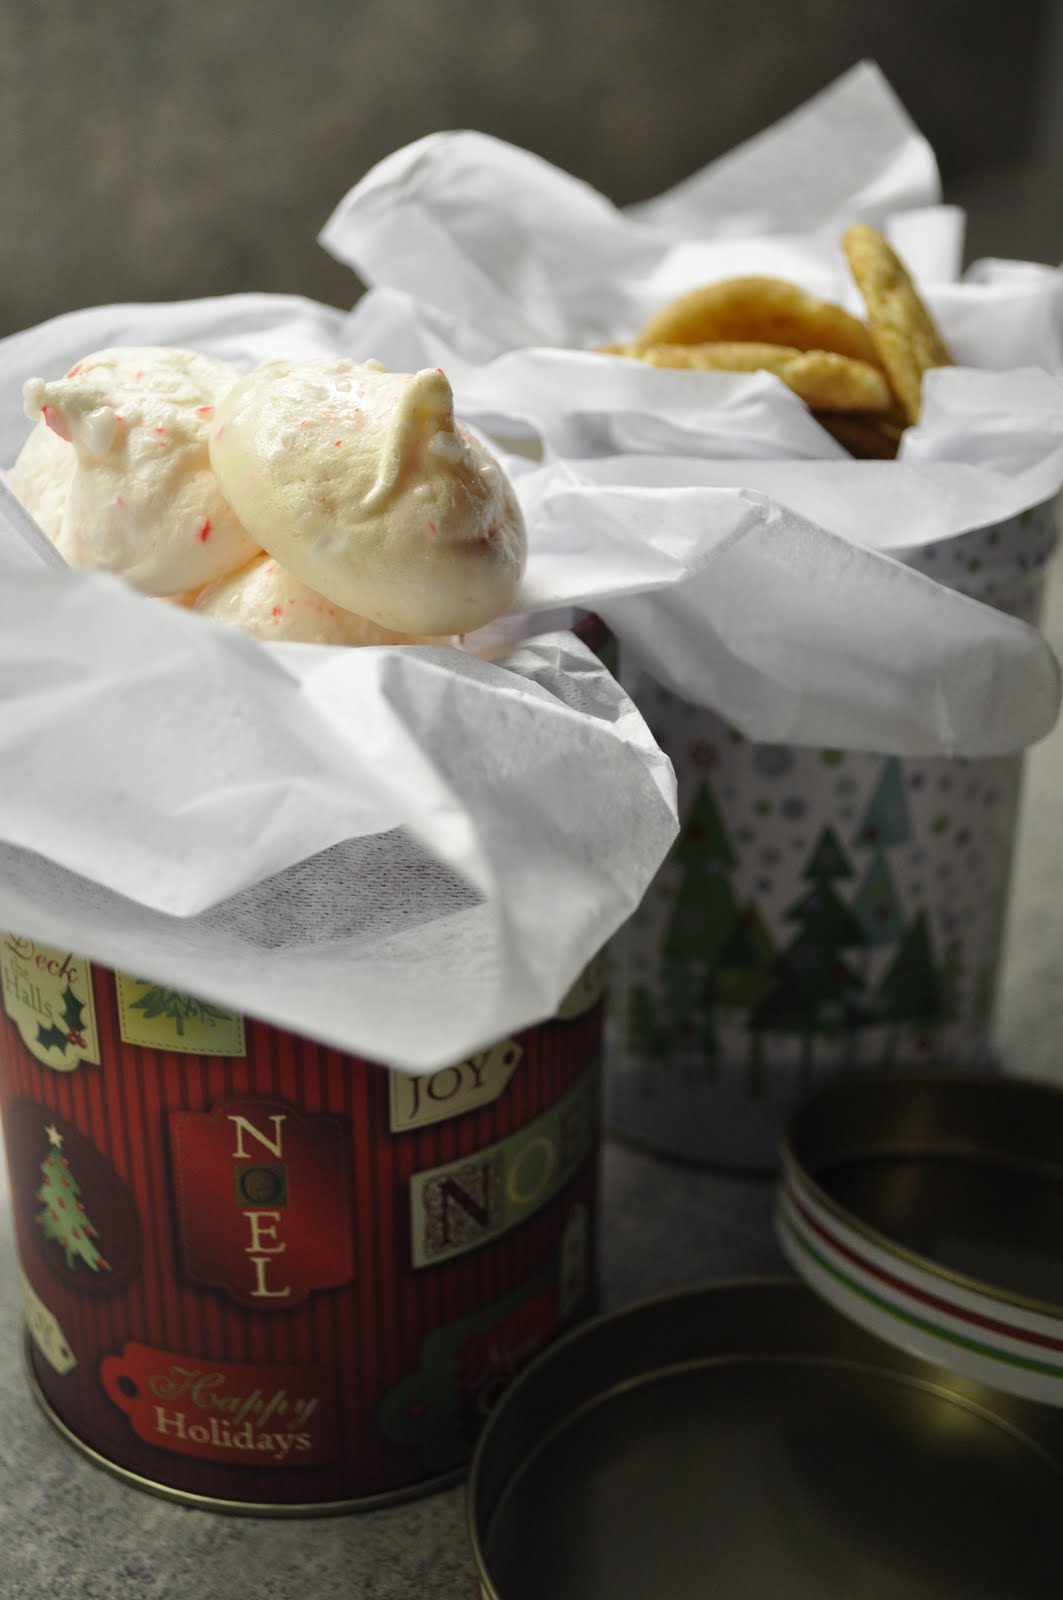
Now that you have a few too many cookies, why not share some of them with a coworker or neighbor. They make very nice hostess gifts. Try placing a few cookies in tins or on a pretty Christmas plate. If you are really feeling in the Christmas spirit, try adding hot cocoa mix or a container of tea or coffee.

From those of us working behind the scenes at Discover Foods, have a safe and healthy holiday season. We hope that you will come along with us next year as we continue our quest to learn more about food.

Sunday, December 19, 2010

Christmas Cookies - Day 12

Butterscotch Bars

Ingredients:
1 cup packed brown sugar
5 Tablespoons butter, melted
1 teaspoon vanilla extract
1 large egg, lightly beaten
9 ounces all-purpose flour (about 2 cups)
2½ cups quick-cooking oats
½ teaspoon salt
½ teaspoon baking soda
Cooking spray
¾ cup fat-free sweetened condensed milk
1¼ cups butterscotch morsels (about 8 ounces)
teaspoon salt
½ cup finely chopped walnuts, toasted

Directions:
1. Preheat oven to 350°F.

2. Combine sugar and butter in a large bowl. Stir in vanilla and egg. Weigh or lightly spoon flour into dry measuring cups; level with a knife. Combine flour, oats, ½ teaspoon salt, and baking soda in a bowl. Add oat mixture to sugar mixture; stir with a fork until combined (mixture will be crumbly). Place 3 cups oat mixture into the bottom of a 13 x 9-inch pan coated with cooking spray; press into bottom of pan. Set aside.

3. Place sweetened condensed milk, butterscotch morsels, and 1/8 teaspoon salt in a microwave-safe bowl; microwave at HIGH 1 minute or until butterscotch morsels melt,, stirring every 20 seconds. Stir in walnuts. Scrape mixture into pan, spreading evenly over crust. Sprinkle evenly with remaining oat mixture, gently pressing into butterscotch mixture.

4. Bake at 350°F for 30 minutes or until the topping is golden brown. Place pan on a cooling rack; run a knife around outside edge. Cool completely.

Yields 36 bars.